Split a product photo into layers
Split a product photo into a layered PSD: the product, every prop and a clean background plate, up to 16 elements per pass.
- per split
- 56–138 s
- per layer (Flash), from
- $0.071
- this page’s sample
- 7 credits
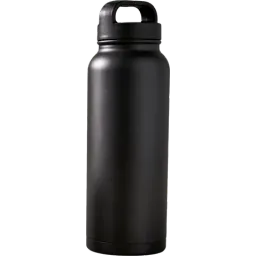
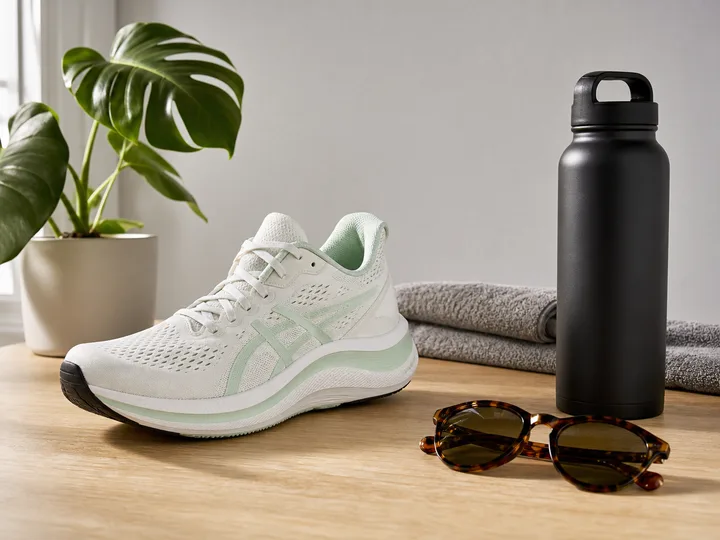
Black thermos cup

Asics sneakers
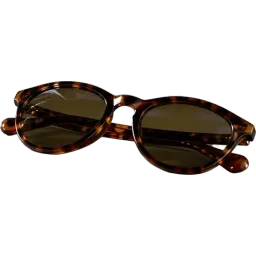
Tortoiseshell frame sunglasses

Monstera foliage
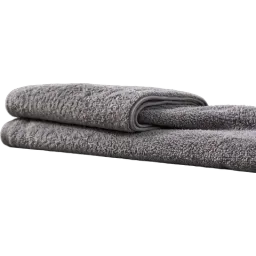
Folded grey towel
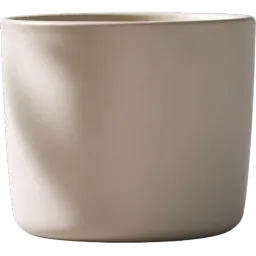
Monstera plant pot
6 cut-outs + background · 7 credits
Layers
Resolution
Auto finds every element (up to 16 per pass). Billed per output: at most 17 credits a pass (17 images). A busy image runs up to 4 passes, and you can stop between them. Takes about 56–138 s.
New here?
7 images · 79 s · 7 credits
Background
Monstera plant pot
Folded grey towel
Monstera foliage
Tortoiseshell frame sunglasses
Asics sneakers
Black thermos cup
Upload an image on the left to split your own.
Short answer
Upload a product photo (JPG, PNG or WebP) and LayerPSD returns a layered PSD: the product on its own transparent layer, each prop (plant, cup, sunglasses, packaging) on another, and a background plate with every object removed and the surface behind them repainted. Auto splits up to 16 elements per pass. Shadows are not kept as a layer of their own: the product is cut clean and the plate is repainted without them, so add a new shadow in Photoshop once things are in place. 1 credit per output layer on Flash, no subscription. Free to try: sign in with Google (a Gmail account) and your first split, background + 4 layers on Flash at 1K with PSD export, or one text edit costs nothing. No card, no subscription.
At a glance
What LayerPSD does, in one table
The same engine runs every page on this site. These are the facts to compare against other tools.
Every object separately
Multi-object segmentation
people, products, logos, text and decorations each on a layer, named by content
Background behind objects
Filled in (amodal inpainting), so moving or hiding a layer leaves no hole
Output
Layered PSD (RGB), ZIP of transparent PNGs, single PNGs, or a PNG of the visible layers
Price
1 credit per output image on Flash, about 6.7 on Pro
background + 4 layers = 5 credits. Credits from $0.071, packs from $9.90. One free try with Google sign-in. No subscription
Speed and size
56–138 s per split
input up to 50 MB; output 1K, 1.5K or 2K
Facts checked 2026-10-11 against the published sample runs and our credit prices. benchmarks.json
How it works
Three steps, one image
- 1
Upload the image
Drop a JPG, PNG or WebP (up to 50 MB), or paste it with Ctrl + V. Nothing to install.
- 2
Split into layers
Seedream 5.0 finds every element, cuts each onto a transparent layer and fills in the background behind it. About 56–138 seconds.
- 3
Restage and export
Move or swap the product, drop props, reuse the empty background plate, then export the PSD or a ZIP of transparent PNGs.
What you get
- The product on its own transparent layer, cut without its shadow
- Each prop as a separate layer, named by what it is
- An empty background plate, repainted where the objects stood
- A real product-photo PSD to download and check before you pay
What it is not (and what to use instead)
A separate shadow layer
Shadows go with the cut. Add one in Photoshop with a Drop Shadow style or a soft brush on a new layer.
One product on white, nothing else
A background remover is faster for a single cut-out. Use LayerPSD when you also want the props and the background plate.
Glass, liquids and reflections kept exactly
The model repaints what was behind them, so check transparent and mirrored areas and touch them up.
By hand vs. automatic
Doing it by hand in Photoshop, and doing it here
You can do all of this in Photoshop yourself. This is what each step takes by hand, and what LayerPSD does instead.
Step
In Photoshop, by hand
In LayerPSD
Select each element
In Photoshop, by handObject Selection Tool, then Select and Mask for hair and soft edges, for every object
All elements found in one pass
Put it on its own layer
In Photoshop, by handLayer via Copy or a layer mask, one by one
Every element already on a transparent layer, named
Fill what was behind it
In Photoshop, by handGenerative Fill or Content-Aware Fill on each hole, then clean up
Background repainted automatically
Under the hood
How the split works
01
Layer decomposition
The image goes to Seedream 5.0 with layer decomposition on. The model detects each element (instance segmentation), returns it as its own RGBA image with a bounding box and a name, and returns a background with the covered areas repainted (amodal inpainting).
02
Assembly in your browser
Your browser places each layer at its box on the background and writes the PSD, ZIP or PNG locally. Nothing is assembled on a server.
Questions
Short answers on splitting, export and billing. Anything else, email us and a person replies.
Can I get the product, the props and the background on separate layers?
Yes. Every object in the photo becomes its own transparent layer, named by content, and the background comes back as a separate plate with the objects removed and the area behind them filled in.
Is the shadow kept on its own layer?
No. The product layer is cut without its shadow and the background plate is repainted without it. Add a new shadow in Photoshop once the product sits where you want it.
Can I reuse the background for another product?
Yes. The base layer is the scene with every object removed, so you can place a different product on it and export again.
How many layers will I get?
Auto finds every object, up to 16 per pass, or ask for 3, 4, 6 or 8. The sneaker photo on this page came back as the background plus 6 layers in 79 seconds.